(15:56 - 21:11)

In 1908 D.W Griffith directed a film called "For the love of gold" which featured the first ever continuity cut. Griffiths then realized that emotion could be portrayed through different camera angles and he pace of editing as it isn't all down to just the actors. Griffith was also given the credit for the narrative of a film, the production of the first American feature film and the discovery of the close-up. "The Birth of a Nation" is the first feature length film directed by D.W Griffith which included many camera techniques such as long shots, still shots, cross cuts and panning shots. There was also a mistake that turned out to be a massive discovery found by George Melies where the camera was filming a bus and suddenly camera jammed for a couple of minutes, once it started to record again the bus was gone and a hearse was in its previous place. once they looked back at the footage they found that it looked as if the bus disappeared ad turned into a hearse, so from this discovery it was then continued onto future films to make people disappear and re-appear. These aspects of movies are all used widely to create films to this present day.
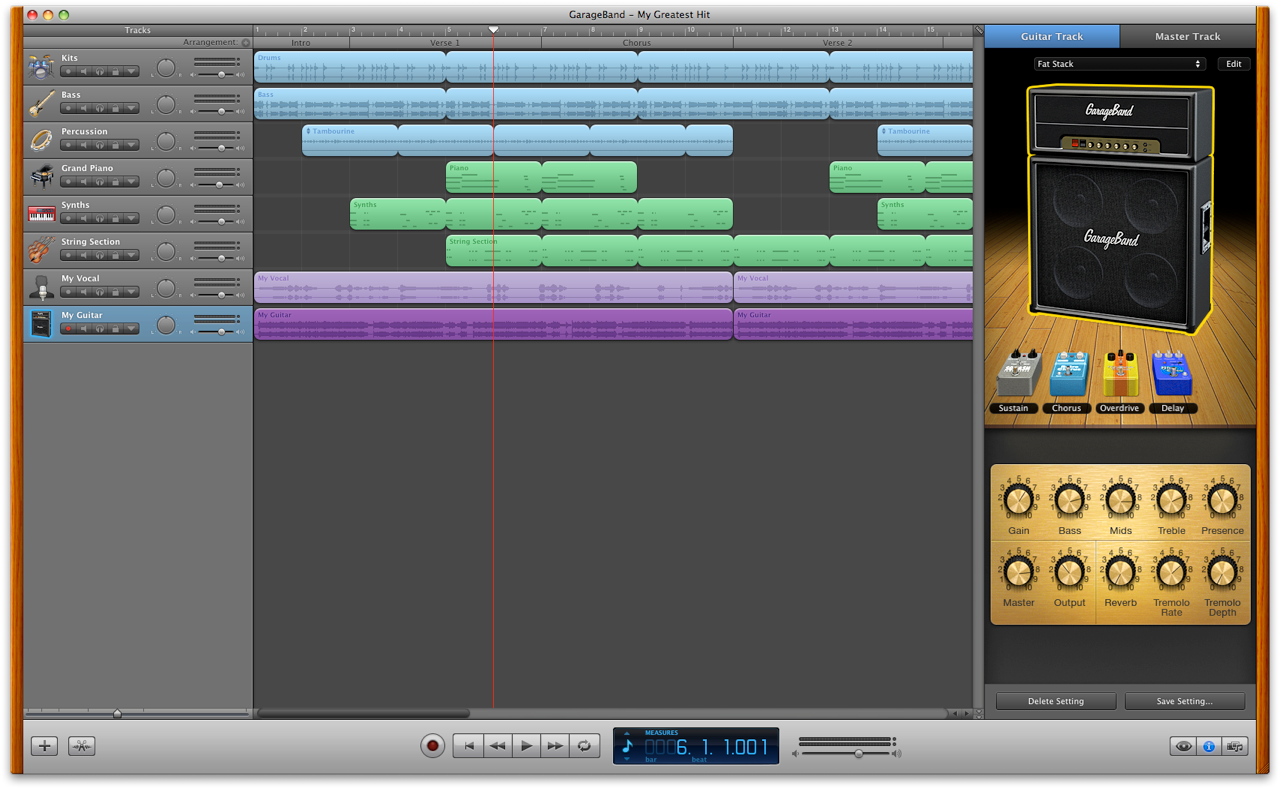
 Analog editing was done using a machine called a Moviola or a K.E.M, the film was passed through to process the picture and cut down along the way and put in the sequence that it needed to be finished in. cuts were simply done by cutting the film with scissors normally and stuck together with some tape, after it has been cut you could move along and see where you need to cut next.
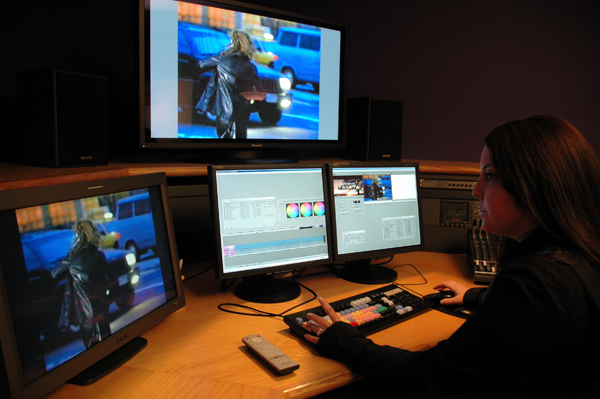 Digital editing was then done through a computer process as it was found to be much faster and more efficient for films. Numerous editing softwares are used today such as Final cut pro, Premiere pro and After effects. All footage is put into a timeline and is then cut and pasted into an order ready for effects to be added.
The clip I have chosen to analyse is the Hoverboard chase scene from the film 'Back to the Future Part 2'. This scene had to be edited accurately and effectively to increase the intensity of the chase and make the forged futuristic props as believable as possible. Overall the speed of the cut transitions vary, however at the start of the scene which is located inside the diner more slower/extended cuts are featured to create a neutral feeling as everything is more focused on the characters emotion and dialogue, these emotions would be shown strongly through close-up shots as they really emphasise the characters facial expressions. Once the scene continues outside, the cuts begin to increase in pace to compensate with the chase that’s going on. The editors chose to do this as it creates enigma for the audience and make them excited to carry on watching. We see a variety of eye-line match cuts when Marty looks down at the board and then a close-up of the Hoverboard is shown, this helps us visualize what the character is looking at without having to guess or assume. It also helps the sequence of shots look a little more interesting.


The continuity system has not been broken during this sequence, meaning the each shot has a seamless effect allowing us to follow the action without becoming aware of the constructive nature. In the diner we see the 180 degree rule put in place when the conversation begins between Marty and Griff. This also consists of shot reverse shots to present both perspectives of the conversation. When the camera does move outside we see a brief long shot to give the audience an understanding of where the scene us being continued as well as showing the girls he is about to take the Hoverboard from, these shots are incredibly used as the director can fit many things he wants to show inside of only one shot. Sometimes directors would use an establishing shot in this situation, to get an idea of the whole location. Once Marty picks up the board there is a match on action sequence allowing us to see different perspectives of the board to also help 'carry' us across the potential disjunction of the edit. Marty (the protagonist) has the most screen time within this scene as he is the main character in the movie, by showing this character for the most amount of time, our main focus is position on him, allowing us to understand he is the most important character. In my clip there is a POV shot used when Griff points to the people on the bike inside the diner, this is used to show a view from his perspective as his is the most dominant character in the scene.

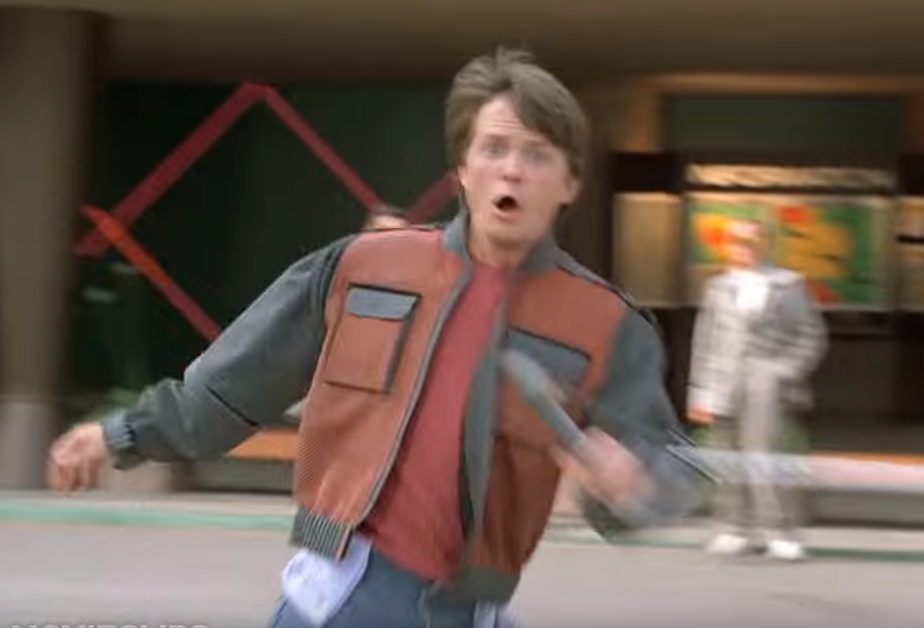
There's a reaction shot when Marty spots Griff with a baseball bat, the camera cuts to a mid shot of Marty on the hoverboard with a terrified facial expression, reaction shots capture the characters response to a certain action or event that happens in the scene.

When Marty accidentally hovers over the pond, the shots begin to slow down again as Griff’s gang prepare to catch him without fail. Then when they set off for the last time, the cuts increase in speed once more to finally increase the intense atmosphere, the editors have successfully used their editing techniques to persue emotion for the audience. CGI (computer generated imagery) and SFX (special effects) are also used for things that would have been too difficult using real life resources;such as the Hoverboards and the flying jeep. Even though some of the Hoverboard shots are 100% real, there’re some shots which can be evidentally seen as CGI, for example when The three members of Griff’s gang throw their boards onto the ground. The other significant piece of SFX use is when the Jeep is coming in to land on the road, the jets underneath would have been computerised along with any ropes or other straps that lowered the vehicle down. Cranes with harnesses would have been used to bring the Jeep down to the ground and then taken into editing which editors would remove the supports that will exploit the hidden trickery of the car hovering. Although this is seen as fake, the post-production has done a decent job to make this as believable as possible for the audience, taking into consideration the editing software wasn’t as advanced back then. In fact at the very start of film making there was no sort of CGI, everything was made with any equipment they could find, also computers obviously didn't exist in the 1800's so it would have been rather hard to edit CGI digitally anyway.
 The movie 'Westworld' made in 1973 had some of the first CGI to be featured in movies. This film was a massive milestone in film-making as movie makers found out that CGI could be used to cover-up man made errors or faults in the film and use computers to correct them. They also found that they could implement other objects or living things etc. into the movie without actually having them on set.
 the shot variation in this sequence is really well executed as it builds up tension for the audience, allowing us to focus on different things in detail. once the scene starts to pick up the pace the shots are more focused closer to the characters to show their emotions towards the situation that's occurring. Comparing this to the start of the scene there are more long takes as everything is much more slower paced and long drawn. Some of the clip have also been edited to fit with the tune of the soundtrack, for example; when Marty steps onto the hoverboard we here the classic Back to the Future soundtrack, engaging the audience with the scene more, this then changes as the bad guys slowly approach him on their hoverboards to convey a slightly more negative atmosphere.
 For action scenes in movies is is commonly known to feature short montages, these montages consist of short shots that are edited into a sequence to condense space, however these montages can also be used for slow paces scene; for example someone hear some bad news and walks back home, during this there will be various shots of the person walking with sad/slow music playing alongside it. These sort of movies, especially horror film feature parallel editing, this is where shots focus on one thing that's happening and then switches to another location of something else that's happening at the same time. For example; whilst someone is being murdered inside a house, it then cuts to the police driving to that location. finally these last camera techniques which are sometimes used are, cutaways and jump-cuts, this speed up time in movies as they cut things out to make things move faster, jump-cuts skip head leaving a cut in between in and cutaways are o just switch your focus onto something else, building up tension. These techniques are mostly used in action movies as everything is much more faster paced and action packed. Editing rythym is what directors/film-makers refer to when trying to match the pace of the film to the action that is going on in the film, slow cut edits has a calming, neutral feeling to the edit, whereas a fast cut edit has a lively, aggressive feel to it.
Sources:
http://www.slideshare.net/katierothery/history-of-editing
http://images3.static-bluray.com/products/22/19916_1_large.jpg
http://basementrejects.com/wp-content/uploads/2011/11/back-to-the-future-ii-sneakers-and-hoverboard.jpg
http://i.kinja-img.com/gawker-media/image/upload/s--drqR7YDu--/c_scale,fl_progressive,q_80,w_800/1884ly0459fmgjpg.jpg
http://www.cartermedia.tv/images/adrenalinekate.jpg
http://oneguyrambling.com/wp-content/uploads/2011/03/PDVD_000.jpg
http://cineblur.com/wp-content/uploads/2012/08/Screen-Shot-2012-08-28-at-11.29.00-PM.png
https://i.ytimg.com/vi/5jCDQvNh85Y/maxresdefault.jpg